How to Prepare Your Mac to Upgrade to macOS Mojave

It's that time again: another version of macOS is just around the corner. In less than two months, you'll be able to upgrade your Mac to macOS Mojave. The latest version of Apple's desktop operating system is light on big, new features, but strong on under-the-hood enhancements.
Should you upgrade your Mac to Mojave? Can your Mac even be upgraded to Mojave? And how should you prepare for this big change? In this article, I'll answer all those questions, so you can be ready to upgrade your Mac to macOS Mojave when Apple officially releases its new operating system.
Compatibility
The first thing to check is whether your Mac is compatible with Mojave. Any Mac released in mid 2012 or later will be able to run Mojave, and some older Mac Pros will also be able to run it.
- MacBook Pro (mid 2012 and later)
- MacBook Air (mid 2012 and later)
- MacBook (early 2015 and later)
- iMac (late 2012 and later)
- iMac Pro (2017 and later)
- Mac Mini (late 2012 and later)
The Mac Pro is an special case. All Mac Pros from late 2013 and later (that's the trashcan Mac Pro) will run Mojave, but earlier models, from mid 2010 and mid 2012, will also run Mojave if they have a Metal capable graphics card. This means that you can run Mojave on a "cheese grater" Mac Pro if it has the appropriate graphics card; you can also upgrade that graphics card, if you want to be able to run Mojave. This article from the Production Expert blog explains which graphics cards are Metal compatible.
If you're not sure of the vintage of your Mac, go to the Apple menu, and choose About This Mac. You'll see its model and year.

Check Software Compatibility
All of Apple's software will be compatible with Mojave from day one, and many major apps will as well. But there's a possibility that one or more apps that you depend on won't be. App developers have plenty of time to ensure the compatibility of their products, but, in some cases, they don't work quickly enough, or it's not possible to make their apps compatible.
It is essential that you check to make sure that your apps are compatible. Imagine if you don't, and you find that one app you use to perform in important task for your clients doesn't work? You'll have to use your backup (see below) to revert to High Sierra.
Apple does not maintain a list of compatible apps, but you can find lists in various places, such as this Reddit thread; and, here's a list of incompatible apps, also on Reddit. Each app developer should say on their websites, or in Mac App Store information, whether they are compatible.
It's especially important that you check any hardware drivers for compatibility. For example, if you use a RAID storage device, and its driver isn't updated, you won't be able to access your files on that device, and if you have a graphics card whose drivers are not part of macOS, you'll need to make sure they have been updated to use your Mac correctly.
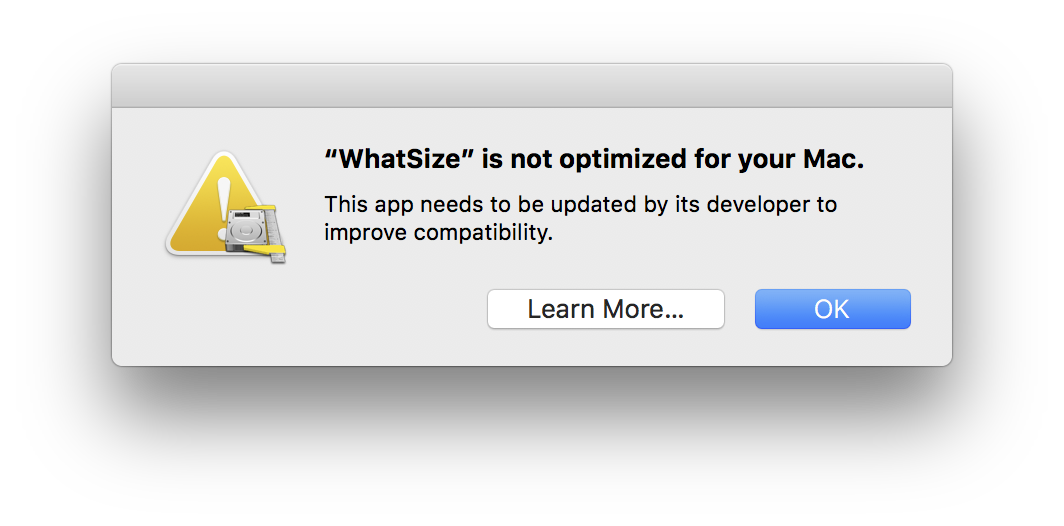
You may notice—and you may already have—that some apps, when launched, engender a dialog saying that they are not optimized for your Mac. These apps run in 32-bit mode, and Apple is soon requiring that all apps be 64-bit. 32-bit apps will still run under Mojave, but the next version of the operating system will nix them permanently. It's up to the developers to update the apps, and, in some cases, this won't be done, so be prepared to find replacements for some older apps next year.

Clean Your Mac
It's a good idea to update as much of your software as possible before upgrading to Mojave. Most apps these days offer updates automatically, or, if you've purchased them from the Mac App Store, via the App Store app. Don't worry about small apps being updated, but for things like Microsoft Office, or Adobe's Creative Cloud apps, and other apps you depend on for your work, it's a good idea to check for updates before upgrading to ensure that you won't have any issues.
Another thing you can do is clean out some of the gunk that has been on your Mac for a while. You can start by choosing the Apple menu > About this Mac, then clicking on Storage. (RELATED: How to Use Optimized Storage to Increase Disk Space.)
You can also use Intego Washing Machine to clean up and delete files you no longer need, such as cache files, downloads, duplicates, and more.
Check Your Drive
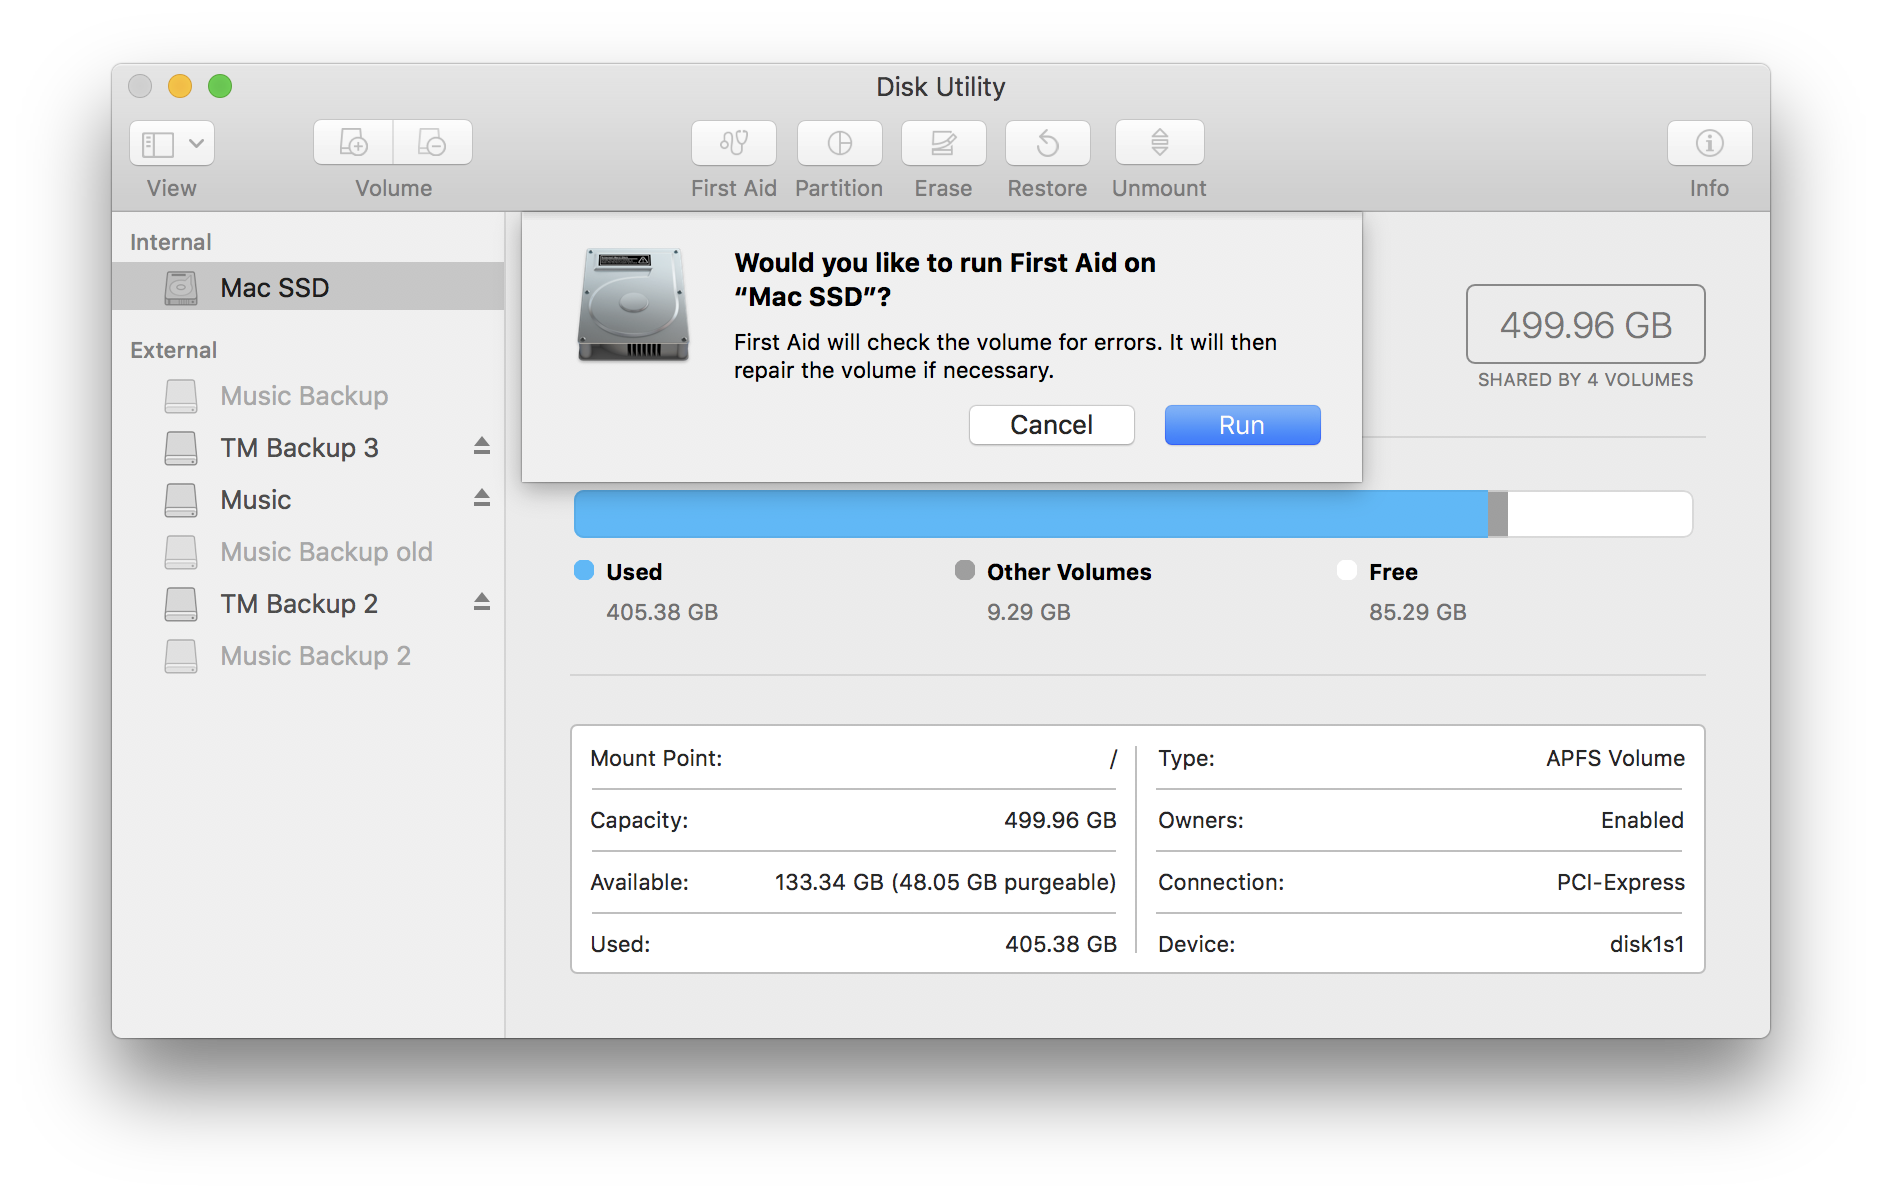
Apple's Disk Utility (located in /Applications/Utilities) is a tool designed to manage disks, but also to check them for errors. Before upgrading, it's a good idea to run Disk Utility's First Aid tool on your startup volume, as well as on the disk(s) you will use to back up your Mac (see below).
Launch Disk Utility, select your startup volume, then click First Aid in the toolbar. This will take a few minutes, and during the process your disk will be locked so Disk Utility can make repairs, if necessary. When this is completed, it will tell you if all is well, and if it has made repairs.

Back Up Your Mac
If your Mac is compatible, and you're ready to upgrade, the first thing you should do is back up your Mac. You can use Time Machine if you have an external hard drive, but the safest way to do this is to clone your drive. A clone, or bootable backup, is an exact copy of everything on your Mac's drive: system files and personal data. You can do this with Intego Personal Backup. (Related: Intego Personal Backup Compared with Apple's Time Machine)
If anything goes wrong during the upgrade process, you can boot from the external drive, and, if necessary, recopy all its files to your Mac.
Choose Upgrade Method: Migration or Clean Installation
There are two ways to upgrade a Mac. The simplest is to run the macOS Mojave installer, which will install the new files over your existing operating system. It won't alter your data, but only those files that are part of the system, as well as bundled Apple apps.
The other is to use Apple's Migration Assistant. This app is designed to move your data from an old Mac to a new one, but you can also use it for an upgrade. To do this, you should clone your Mac, on at least two drives (one to use for the upgrade, and another as a backup). Start up your Mac, then press the Option key immediately so you can select that drive as the startup drive. Launch Disk Utility (in /Applications/Utilities) and erase the drive on your Mac. (You did make two backups, right?)
Download the macOS Mojave installer and launch it. It will ask which drive you want to install the software on; select the now erased drive in your Mac. Follow the instructions to complete the installation.
When you've finished, you'll have a virgin operating system on your Mac, and you'll still be working from your external drive. You can now copy all the files in your home folder, as well as personal apps. (RELATED: Setting Up a New Mac: Should You Migrate or Do a Clean Installation?)
A clean installation is time consuming, but it can weed out old files from apps you no longer use, and it's a good way to start with a clean slate. Some people do this for every major operating system upgrade; I only do it every few years, because it does take a long time. If you do a clean installation, make sure to keep both of your clones for some time, just in case there's something you forgot to cop over.
How to Install macOS Mojave
Okay, it's taken a while, but now you're ready. If you're installing macOS Mojave on a laptop, make sure it's charged, or connect it to a power supply; you don't want it running out of battery during the installation process.
Go to the Mac App Store and download the Mojave installer. This is about 5-6 GB, and may take some time depending on your bandwidth. When the download is complete, the installer will launch; follow its instructions. The upgrade process can take a while - a half hour or so - and this is a good time to get a cup of tea or coffee, walk the dog, or do something else instead of sitting in front of your Mac watching its progress bar.
But first... In general, after macOS is installed, the installer is deleted. If you look in /Applications, you'll see the installer, called Install macOS Mojave. It's a good idea to copy it to another location, an external drive, or, perhaps, your Downloads folder. This way you'll have another copy in case something goes wrong and you need to run it again. If your bandwidth is fast enough, this may not be necessary, but for many people it can save a lot of time to keep the installer safe. This is also useful if you have more than one Mac; you can just copy the installer to another Mac and run it.
Once the installation is completed, you'll need to go through a few screens, such as one to sign into your iCloud account. At this point, you may see an Incompatible Software screen telling you of apps that have been moved because they are known to be incompatible. You'll find them in an Incompatible Software folder at the top level of your drive
Hiç yorum yok:
Yorum Gönder